HypnoChat


The HypnoChat instant messaging system is an AOL Instant Messenger client that allows users of Virtual Hypnotist to not only chat, but to remotely control each other's programs (including groups of users), making Virtual Hypnotist a multiuser program.
Some of the sub-sections in here are the Instant Messaging windows, the Remote Controller, and Chat Room/Group Sessions

This is the login window. To log in, you need an AIM screenname and password. If you have one, type them in and click Login. Otherwise, click Sign Up, and you will be brought to AOL's free AIM screenname signup page.
When you first log into HypnoChat, it will automatically bring you to the group "virtualhypnotist" on the AIM network. This allows you to meet other Virtual Hypnotist users.
If you exit that, you will see the main window:
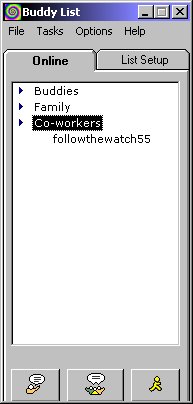
This will show your online buddies. Just double-click their screenname, and you can chat with them.
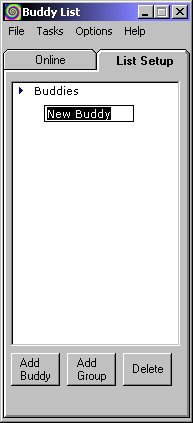
If you click List Setup, you can add buddies and groups, and delete them.
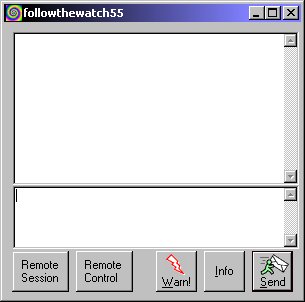
This is what the instant messaging window looks like. Type your message in the lower text box, and either press Enter or click Send.

If you click the Remote Session button, that will allow the person you're currently chatting with to remotely connect to your Virtual Hypnotist program (meaning you're the subject). If you want to control their program (so you can be the hypnotist), click the Remote Control button. See the Remote Controller section below on how to use it.
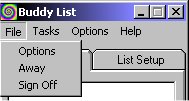
The File menu lets you set your HypnoChat options, activate an away message, or sign off.
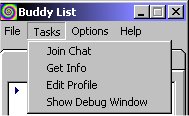
The Tasks menu lets you join a chat room, get the info on a screenname, edit your AIM profile, and show the HypnoChat debug window.

The Options menu lets you display the control commands that 2 Virtual Hypnotist machines send to each other (by clicking the Show control commands option - the commands will appear in the IM windows). The Auto-join chat on login option lets you choose if HypnoChat should automatically join the "virtualhypnotist" chat room on startup or not.

The Help menu lets you see HypnoChat's credits.
Options
When you choose Options from the File menu, you see this:
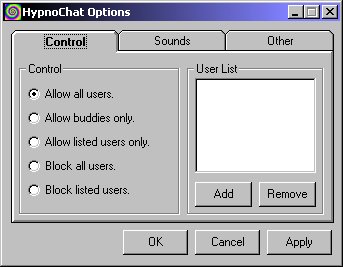
This allows you to control who can chat/connect with you.
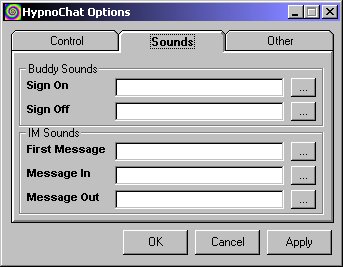
This lets you play sounds during certain chat events.
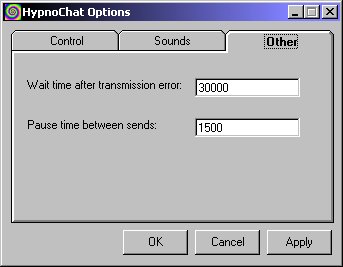
"Wait time" controls the amount of time the chat system waits after a transmission error occurs. "Pause time" sets the amount of time that the chat system waits before sending out each message. Both are in milliseconds.
The Remote Controller
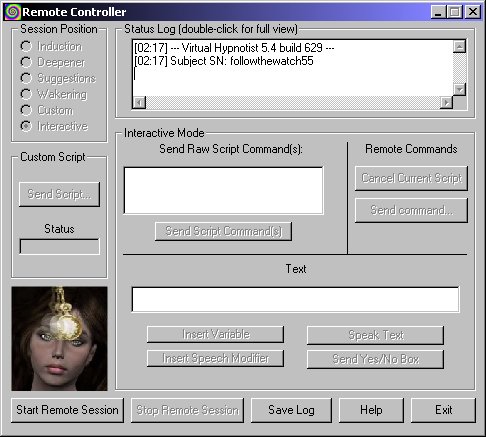
When you first enter the Remote Controller window, the subject's screenname will be shown in the Client Status Log at the top. You can save this log at any time by clicking Save Log.

Click Start Remote Session to connect to the subject's computer. If they are available and accepting connections from you, then the window will look like the one above, and the message "Connected to client" will appear and show their version of Virtual Hypnotist.
Start Remote Session
Tells the remote machine to start the session.
Stop Remote Session
Tells the remote machine to terminate the current session.
Save Log
Saves the text inside the Client Status Log to a file.
Help
Displays the Remote Controller help
Exit
Exits the Remote Controller and terminates the current session, if active.
Session Position
This section lets you run a script section on the client machine.
Induction, Deepener, Suggestions,
and Wakening will run the script in that section that the
user has selected. The Custom option will run a custom script
that you have sent to them using the Send Script button.
The Interactive option will allow you to send individual
commands by using the buttons and boxes on the right.
Custom Script
This allows you to send a script to the client machine. It will be
loaded into the Custom section, so to run it, click the Custom
option in the Session Position section. Status
shows the percentage of the script that has been transferred, and Wait
specifies how long the Remote Controller will wait between sending each line
of the script.
Send Raw Script Command(s)
This text box and button allows you to type in a script command and to sent
it to the subject's machine, which will process it.
Send Yes/No Box
This allows you to send a yes/no dialog to the subject machine. Type in what
the dialog should say in the above text box, and click it.
Speak Text
This allows you to speak a word or phrase on the subject's machine. Just type
in the word/phrase in the above text box, and click it.
Insert Variable
This displays a list of variables, and the one you choose will appear
in the text box.
Insert Speech Modifier
This displays a list of speech modifiers, and the one you choose
will appear in the text box.
Cancel Current Script
This stops the currently running script on the remote machine, and switches
to Interactive mode.
Send Command...
This button displays a menu where you can select a script command
to send.
Some of these commands allow you to change the graphics and sound settings on the remote machine. See the Graphics/Audio and Brainwave Generator sections of this guide for more information on these parameters.
Chat Room/Group Sessions
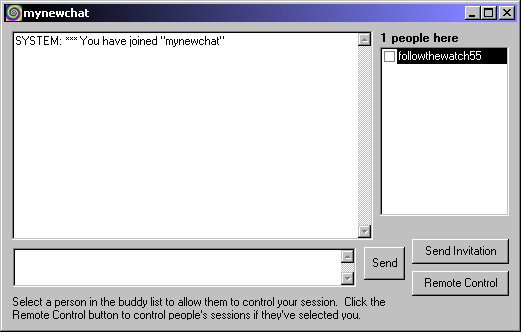
When you enter a chat room, this is what the chat room window looks like. You can invite more people into the room by clicking on the Send Invitation button. Notice the check box to the left of my username (top right) of the chat room window. Normally there will be a bunch of users listed, and if you want to allow a user to control your session (just like the Remote Session button in the IM windows, for you to be the subject), just click the check box next to their name, and then the chat system will tell you if they responded. If they did, then just wait for the session to begin.
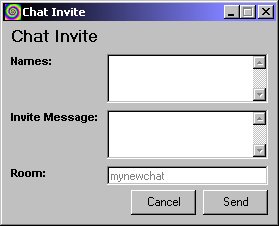
Chat invitation window:
If you want to control other people's sessions (for you to be the hypnotist), then click the Remote Control button in the chat room window. You will then see this dialog:
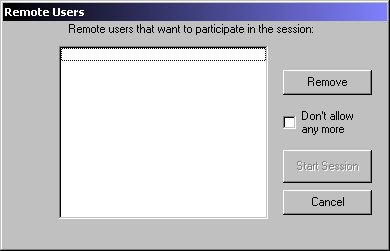
Users will begin appearing in there if they have clicked the checkbox next to your screenname in the chat room. You can also remove users by clicking their name and clicking the Remove button. The Don't Allow Any More checkbox stops more people from joining your list. Once you are ready, click Start Session, and you will be controlling multiple users in parallel (works like multicast).